I learned these bread making tips early on and they haven’t failed me, yet.
I’m always excited to talk about bread baking and all it entails. I’m definitely just a beginner but this has become a hobby that I practice whenever I can.
Since I’m a daily user of a bread maker and I absolutely love my machine, when it comes to sharing my bread making tips the first one is:
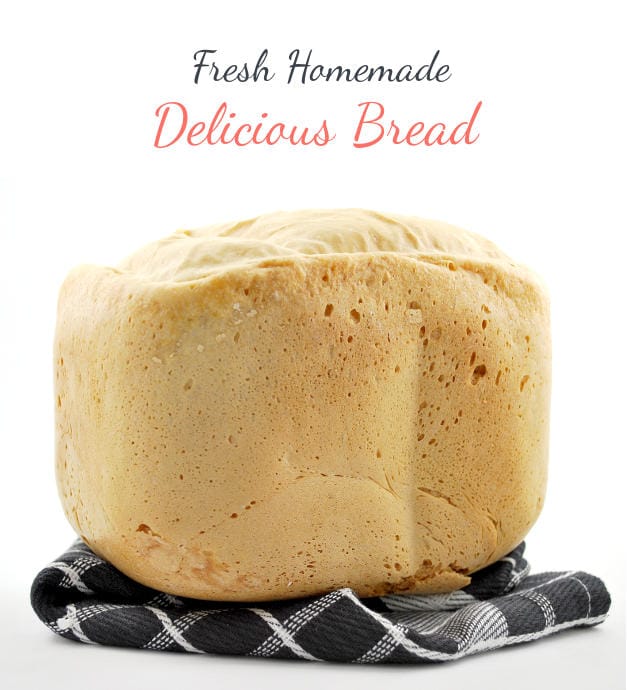
The easiest way to have fresh homemade loaves whenever you want is to let a very good bread machine do all the work.
Contents
The basic ingredients
There are 4 simple ingredients:
- flour
- water
- salt that you should definitely not forget about
- and yeast, plus some sourdough starter if you prefer it that way
These 4 are the basis of a good delicious bread.
You don’t need anything more. And it’s cheap.
I sometimes add only these 4 ingredients in the baking pan.
I also add olive oil because it’s the basis of all my cooking but you don’t have to.
Tip 1: It starts with the flour
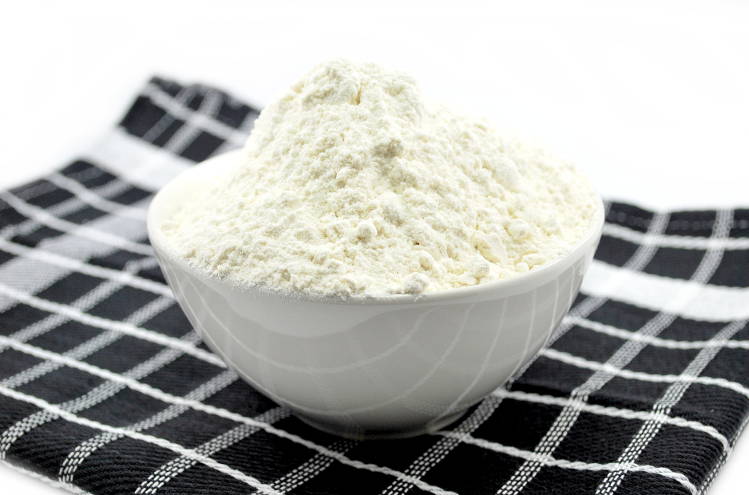
One of the most important bread making tips is the type of flour that you should use.
If you’re making white loaf, whether you do it yourself or with the help of a bread machine, you should always use bread flour.
Unbleached to be more exact. Bleached and bromated flours are unhealthy.
Bread flour has a higher concentration of gluten, which means that the bread will rise beautifully.
You don’t need to go all expensive or buy it from such posh place.
Just get an unbleached bread flour and you’re good to go.
The same goes if you prefer wheat or any other type.
If you use whole wheat or rye or rice flour, flours that are low in gluten, you can add vital wheat gluten. It’s very good for rising baked goods.
Tip 2: Choose the yeast
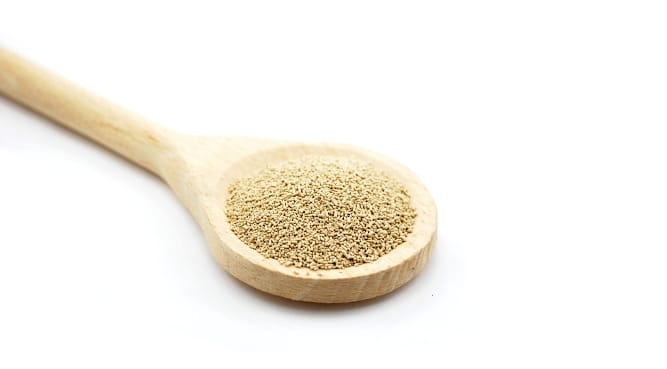
You should always use dry active yeast.
Yeast will work just fine in water that has a lower temperature or at room temperature but it will die in water that’s too hot.
Lukewarm water is the best. It’s neither cold nor hot.
In the beginning, it’s best not to use too much yeast.
If you use less, nothing happens.
You just have to let the dough rise for a longer time. But it also allows the flavors to get so much better.
Tip 3: Adding the ingredients
You’re not going to perfectly nail the ingredients from the first try.
If this is your first experience, you might not have the bread mix that works for you.
That’s why,
It’s best to have a notebook around you and use a scale to weigh every ingredient that you’re adding.
It’s best to use a scale to weigh the ingredients instead of measuring them.
That way it’s more accurate.
That’s what a beginner home baker should do.
That’s how, when you find the perfect quantities and timing, you won’t be confused at all. They will become your own personalized bread making tips.
You will find everything written down to the detail. Thus, each time you will get homemade loaves that are perfect, just like a machine does.
Tip 4: Everything about kneading the dough
There are a lot of things to be talked about when it comes to kneading the dough.
I’ll just stick to the basics because that’s where I’m at.
- It’s not possible to knead too much when you do it manually, with your own hands.
Excessive kneading shouldn’t be a concern.
- Knead the dough until it’s elastic and it doesn’t stick to the surface or your fingers.
From observing many people when kneading the dough I’ve come to the conclusion that it’s kind of intuitive to know when to stop.
- The dough must be elastic and it’s better to be a little sticky than to be completely dry and hard.
This is important:
- Let the dough rise for about 45 minutes then shape it and then let it rest for another 45 minutes.
It takes time for the dough to rise.
It’s generally between 1 up to 2 hours, at room temperature.
- It needs to double in size, that’s the only rule.
Shape the dough after the first rise but don’t knead it. The first rise means after the dough has risen by a half.
- If you want an open crumb, which is kind of difficult to master so, don’t give up from the first try, you should knead the dough after the first rise.
Be careful, don’t over- or under-knead. Like I said, it’s a little difficult to get an open crumb.
One more thing:
The final product will always be more flavorful if the dough is not let to rise in a hot place but in a more cool one.
However, the time needed for the dough to rise is really long. Basically, you should let it in the fridge for 8 to 12 hours, until doubled in size. That’s what I do with my pizza dough.
- Slash the dough 20 minutes before baking for giving it a really great professional look. You would be surprised at the effect it offers.
Tip 5: Don’t forget about
- the egg wash if you want a golden crust
- the dusting with flour for a rustic style
- the milk wash towards the end of the baking for sandwich loaf
- oil for softening the crust
- water for keeping it crisp
- a seeds coat before baking
- spices, chives, fresh herbs, nuts, and fruits for a nice boost in flavor – I can guarantee that your homemade loaf will be eaten before you can get a bite
Tip 6: The oven temperature
A baking stone is an amazing little thing that can do a lot.
I first heard about it when I was researching how to bake pizza. It’s phenomenal for baking.
The loaves will have great crust and the baking will be even.
When it comes to handling the oven, some of the most important bread making tips are:
- preheat the oven 30 minutes before baking if you don’t have a baking stone and one hour ahead if you’re using the stone
- the usual temperature is 400 degrees Fahrenheit (200 degrees Celsius) up to 500 degrees Fahrenheit (260 degrees Celsius)
It depends, from oven to oven, so you should check the first tray more often and adjust the temperature.
Once you get it out of the oven, if it’s a big loaf and not tiny rolls, let it cool for about 30 minutes or an hour.
Only after that you can cut into it.
Otherwise, it will look underdone.
How I get to enjoy fresh bread daily
I am fascinated by everything that makes my life easier.
It’s the main reason why I’ve never once stopped using my machine once my mother brought one home.
It’s actually a bit improper to say that I’m making bread because the machine does all the work.
All I do is:
- add the ingredients in the baking pan in the exact order stated by the recipe
- plug in the unit
- press a button
- and in 4 hours the beeps let me know that my loaf is all done and baked
My machine needs 4 hours to deliver steamy delicious loaves of bread but there are many that only require 3 hours for the whole process.
Also:
I call myself a bread newbie because I’ve just recently started to make the dough by hand and bake it in an oven.
It’s still difficult for me but this blog helps a lot with my motivation.
Even so,
I’m still going to continue using my bread machine and I’ll bake occasionally when there’s a recipe that I want to try.
Since I don’t like store-purchased loaves, this is the best solution for me.
And I know with certainty that my bread maker makes perfect nicely risen loaves and dough every single time.
The only thing I truly love baking is pizza.
I think that pizza is the best food for any occasion and my machine does half of the work for me – it makes an absolutely fantastic pizza dough.
Quick. Effortless. What more could I ask for?
Anyway, let’s get back to the main topic – bread making tips, as understood by a newbie in this field.
My personal bread making tips, the ones I’ve learned from my pitiful experience and from reading on the subject, apply to users of machines and to those who love to do everything from scratch with their own hands.
I’m not a good baker but I always admire the men and women who are.
Baking is really fantastic and so incredibly useful so I’ll get there someday, when I’ll have the time and patience. This blog will surely make me more resilient.
Feel free to bring your personal contribution, I would love it. Just leave a comment.
And with this, I’m done.
I’m not a baker and these are the bread making tips that I know of.
I prefer letting my beloved machine do the job for me. All of it. And it’s so much easier.
However, if you insist on making your own loaves by hand, then I hope my bread making tips will help you a little because they have served me well in the few attempts of baking my own loaves.

