There’s nothing complicated when it comes to learning how to use a bread machine.
In fact, that’s the whole point:
We buy these wonderful machines in order to have fresh homemade bread whenever we want, without any effort or complications.
Their role is to transform a pretty complicated thing, like baking, into a really simple process.
Contents
My Top 3 Bread Machine Picks
1. Cheapest: Oster CKSTBRTW20
What you get with the Oster CKSTBRTW20 is one of the most affordable most reliable bread machines. It’s a basic model that does good breads, a wide variety of tasty loaves, and very good dough. It’s also very light, you can put it in a cupboard if you don’t use it regularly. There are some who just use the Oster for making dough and then bake it in a regular oven. There are all kinds of ways to use a bread machine for making your baking easier.
2. Best Gluten-Free: Hamilton Beach Bread Maker 29882
If your interest lies in making gluten-free baked goods, the Hamilton Beach is one of the cheapest bread machines with a gluten-free cycle. You will love it and have fun with it. It’s an amazing option and, if you want to thoroughly explore how to use a bread machine, also get a bread machine cookbook.
3. Overall Best: Zojirushi Virtuoso
This is one of the most expensive bread makers. Other than that, it’s very close to perfect. More importantly, it bakes rectangular loaves, the shape that we are all accustomed to from loaf pans. It also has a huge number of cycles, 15 settings for a complete baking experience for every person.
How to use a bread machine step by step
Everything is so nicely simplified:
You just need to add the ingredients in the exact stated order as stated in the recipe, press a button or two, and that’s it.
In 3 or 4 hours the loaf is perfectly baked and ready to be devoured.
The ingredients have been mixed, kneaded, raised, shaped, and baked.
And there’s your reason for buying a bread machine.
That’s pretty much all in short. But let’s dig a bit deeper.
Let’s thoroughly discuss every step of the process. I not only like using a bread maker almost daily but I also thoroughly enjoying talking or writing about it.
I am bread newbie only when it comes to oven baking and making things from scratch.
On the other hand, I’m an expert at letting a bread machine do all the work for me. And I thoroughly enjoy the delicious finished product.
I can guarantee you that, by the end of this post, you’ll know exactly how to use a bread machine. After all, it’s nothing complicated.
Step 1: Choosing the ingredients
Actually:
First and foremost, you should read the user manual.
I assume you’ve already read it, haven’t you? In those pages you’ll find find everything, including many recipes to get you started. But I still hope you’ll find my post useful, too.
All the recipes require the following common ingredients, you can use all of them or skip some:
1. Flour
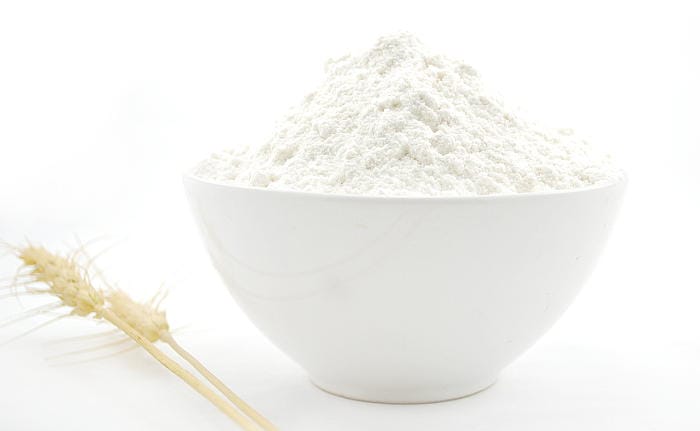
I’m starting with the flour because it’s the essential one.
I’m going to tell which type you should use with any machine.
I use bread flour and that’s what you should use with the white basic setting, too.
But I also use all-purpose flour.
I’ve even gone to a mill with my own grains.
It was awesome, the final product was incredible, and the bread was delicious. I highly recommend the experience.
I’ve also used wheat flour and every time the loaf was delicious.
All manufacturers would say that I’m wrong to use all-purpose flour when making a yeast loaf. I’ll continue to use all purpose because the bread is really good. The trick is to use all-purpose that’s high in gluten.
Look:
There are two main types: strong and weak.
Flours are differentiated by how much protein they contain.
The strong one has a higher content of protein necessary for the development of gluten and that’s why it’s used for bread making.
The weak flour is used for cakes and pastries.
Gluten is the thing that enables us to obtain a nicely risen loaf.
Obviously, that’s what you want if you’re using the basic cycle.
It’s said that all purpose one is slightly weaker than the strong flour that’s why it should be mixed with the bread flour.
But that shouldn’t be the case if you know for sure that you’re using a flour high in gluten. That’s a type of flour that’s made from hard wheat.
There’s also self-rising flour to which yeast and sometimes salt have already been added. This one and the pastry flour are not for loaves making.
Basically:
All user manuals specify that you should use bread flour.
I guess the idea that I should state in this how to use a bread machine guide is: you should use whatever the user manual for your machine specifies.
No matter what you do, don’t use bleached flour because that’s unhealthy. The name itself suggests that.
Also, the bromated kind is just as unhealthy.
If you’re using whole wheat flour, the loaf will not rise as much as it does with bread flour.
If you want, you can create a mix from two parts wheat flour and one part all purpose flour.
That’s one tip that I can offer you in this post on how to use a bread machine.
However,
The simplest trick to make whole wheat dough to rise properly is by adding vital wheat gluten, which is all natural and very good for rising baked goods.
It can also be used as a rising aid when using the rapid setting. I definitely recommend using vital wheat gluten.
It goes the same for rye, barley, rice, corn, pumpernickel, and all sorts of whole-grain loaves with low gluten.
If you don’t know how much vital wheat gluten to add, maybe these measurements will be of some help:
- for a 1 pound loaf add 1-1/2 teaspoons vital wheat gluten
- for 1.5 pounds add 2 teaspoons add 2-1/2 teaspoons for a 2 pounds loaf
- and for a 2.5 pounds you can add 2-3/4 teaspoons
I’ve borrowed this trick of adding vital wheat gluten for obtaining nicely risen whole-grain loaves from the Breville Custom Loaf user manual.
That’s why I call it the smartest bread maker on the market.
2. Water

Whatever water you’re drinking is good for the machine, too.
Use tap water at room temperature, meaning it shouldn’t be neither too cold neither hot.
Warm water is used only for the bake rapid cycle.
Some makers even specify the temperature.
For example, the Oster CKSTBRTW20 user manual specifies that the water for the rapid cycle should have the temperature between 115 and 125 degrees Fahrenheit.
That’s because the rapid cycle takes so much less to be completed compared to the basic setting so the machine needs to skip some phases.
3. Milk
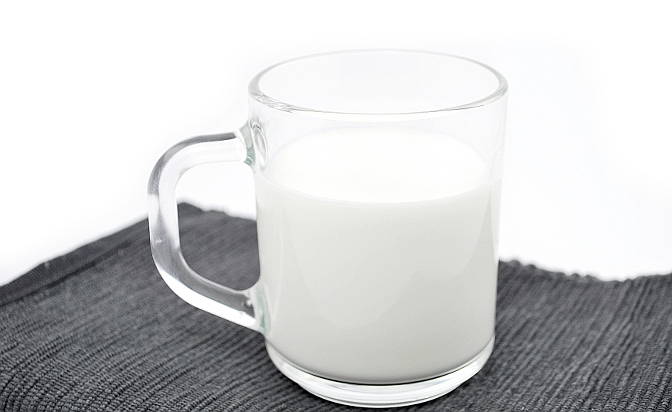
Some people add milk when they manually make the dough.
Machines don’t make an exception when it comes to automatically preparing the dough and baking it.
Milk is used for increased nutritional value and enhanced flavor.
If you’re not using the delay timer you can use fresh milk but if you let the ingredients rest overnight it’s best to use milk powder. The fresh milk might turn sour overnight.
4. Salt
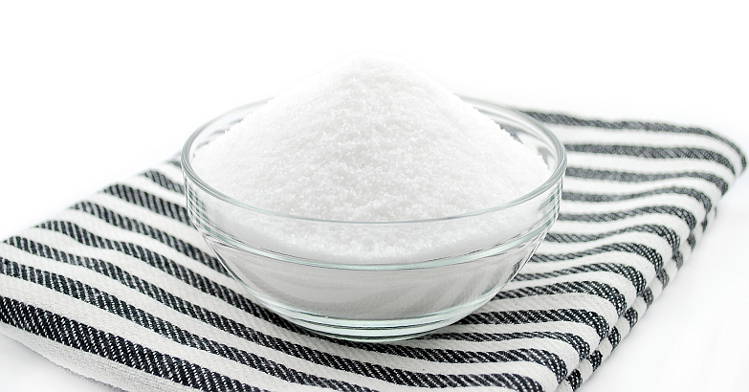
Again, a very simple ingredient that you can find in every home.
I’ve personally used Kosher salt (coarse salt) or sea salt or table salt.
It didn’t make any difference so my personal opinion is that you can use whatever salt you have around.
On the other hand, there are certain manufacturers that advise users via the user manual to use Kosher salt.
I’ll stick to my opinion and say it with the occasion of this how to use a bread machine guide that you can use whatever type of salt you want and have.
5. Sugar
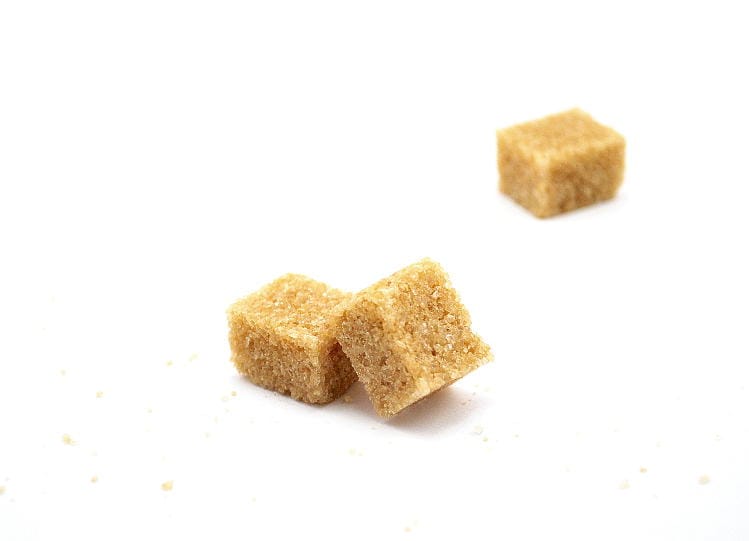
It’s up to you if you want to add sugar or not.
Sugar adds sweetness to the loaf and also fineness and softness to the texture.
I’m going to talk a little bit further down this post about how to use a bread maker and how you can entirely skip on adding some ingredients if you want to.
If you want to add sugar then, as it happens with salt, you can add whatever type of sugar you want: caster sugar, brown sugar, and whatever other type of sugar there is.
You can also add honey and molasses.
6. Oil/Butter/Margarine
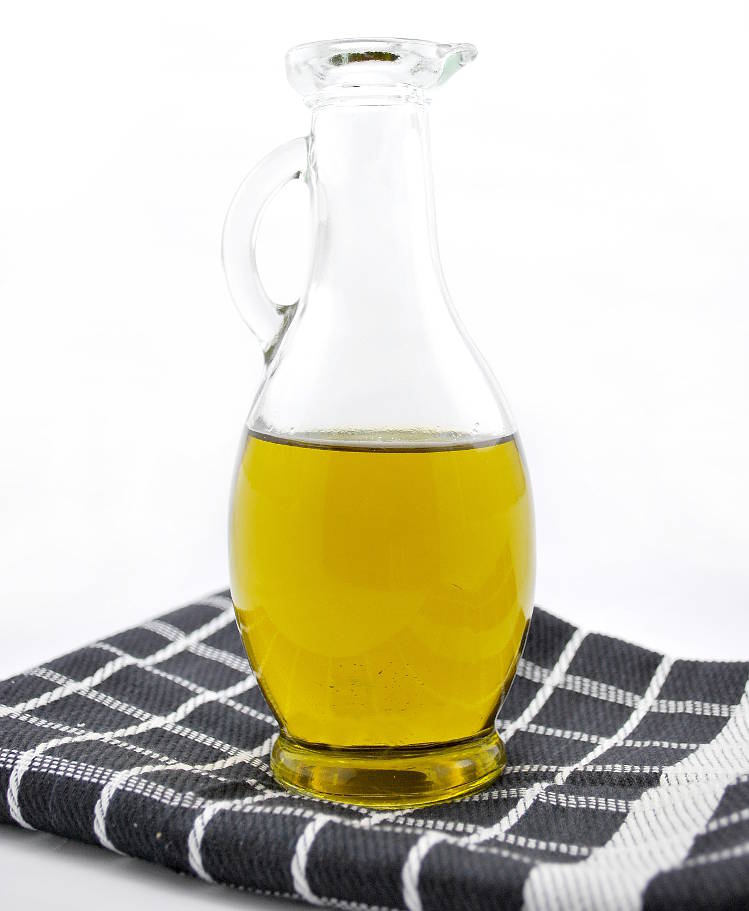
There are manufacturers that specify that you can use either one of the three ingredients and the loaf will be delicious with either one.
I’m going to take it even a little further and say that you can skip this ingredient entirely, as well.
When talking about oil, you can choose between vegetable and olive oil. These are the most popular types.
But there are all types of oils so if you want to experiment and see how it would taste with sesame oil, for example, there’s nothing wrong with that.
The thing is:
I use olive oil simply because I love olive oil. When I don’t have it, I skip it entirely.
Mainly,
I stick to the basic 4 ingredients: water, salt, flour, and yeast.
Don’t be baffled by the fact that the recipe might say instead of oil to add butter or margarine.
Just be completely confident that the bread maker will make awesome bread whatever you might choose to add or entirely skip.
The purpose of this ingredient is to tenderize the loaf, add flavor, and richness.
7. Yeast
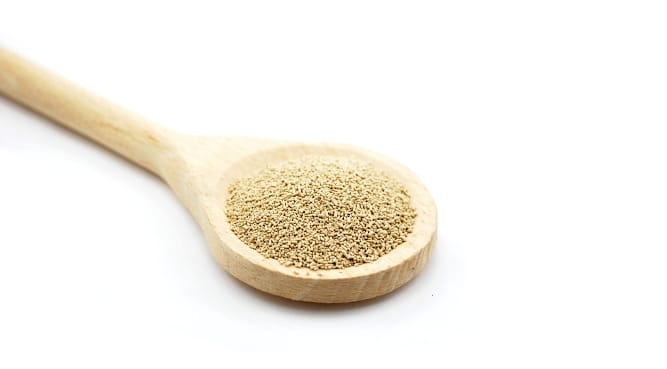
Even though this is the final ingredient that I’m mentioning, it’s a vital one.
There are a few important things to remember after reading my how to use a bread machine guide.
The following are one of those:
With any bread maker the yeast must not make contact with any liquid.
There are two types of yeast: fresh and dry.
For bread makers, the dry one is used. Active dry yeast to be more precise.
However, the dry one is also of two types: dry yeast that requires preliminary fermentation and the one that can be mixed with other ingredients instantly.
Obviously, the latter type is used with bread machines.
The yeast you should use is active dry yeast or active fast rising yeast or breadmachine yeast or instant dry yeast.
It basically depends whether you are using the basic setting or the rapid one.
Your user manual will specify what yeast to use.
Talking about yeast, what about those making gluten-free bread?
Am I not going to offer you a special tip in this post that has the sole purpose of teaching everyone how to use a bread maker?
For those who are making gluten-free bread, they can use Xanthan gum or guar gum.
I’m sure you’ve seen this ingredient on a multitude of products.
Well, these two types of gum are used as thickening agents, as binders that retain moisture, and for adding volume.
Xanthan gum is the yeast for gluten-free breads.
Step 2: Adding the ingredients
The first thing that you need to do when letting a bread maker bake your bread is to accurately measure the ingredients.
That is the most important aspect to remember.
It’s another one of those important facts that you must take away after reading my how to use a bread machine guide.
It’s the guarantee for a fantastic bread over and over again.
You need 3 tools for that:
- digital scale for flour measuring
- measuring spoon for salt, yeast, sugar and oil
- measuring cup for water
The spoon and the cup come with the machine.
A digital scale is not expensive so I really advise you to use one, it’s really easy.
The second thing you need to remember is that you need to add the ingredients in the pan in the exact order as stated by the recipe you’re going to make.
Open the bread maker, take the pan out, and add the ingredients one by one.
Then put the pan with the ingredients back in, lock it, close the lid, select the cycle, and press On. With that, all your work is finished.
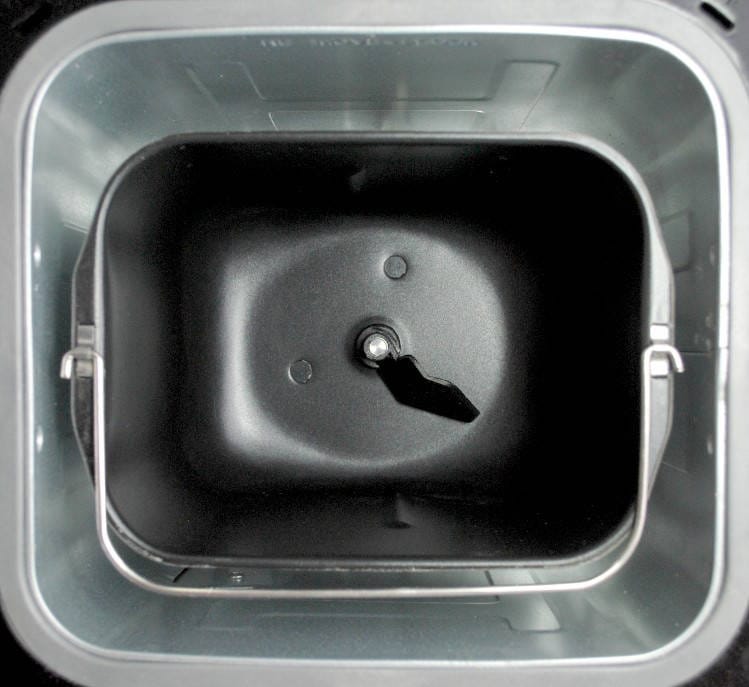
The order is basically this one:
- liquid ingredients
- fats
- dry ingredients
- yeast/baking powder/baking soda
The yeast doesn’t come into contact with the wet ingredients.
With my current machine, a Panasonic, I add the yeast, flour, salt, oil and water. That’s the order as stated by the user manual.
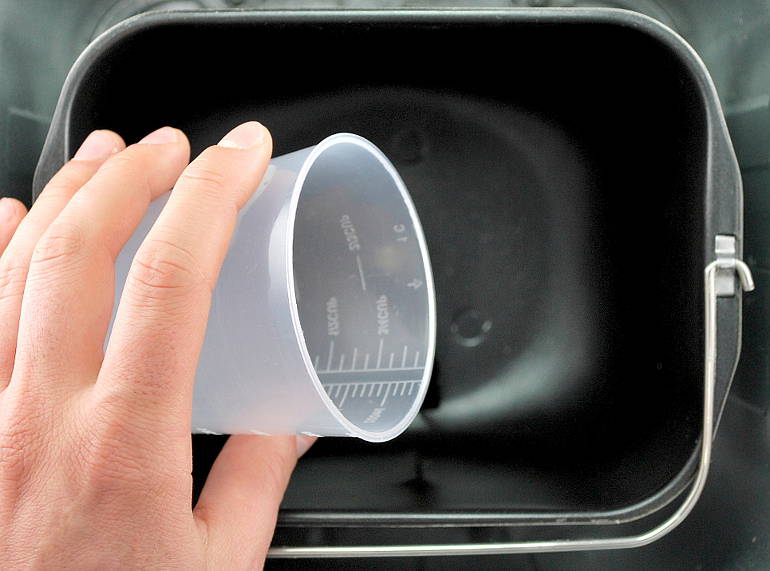
Water
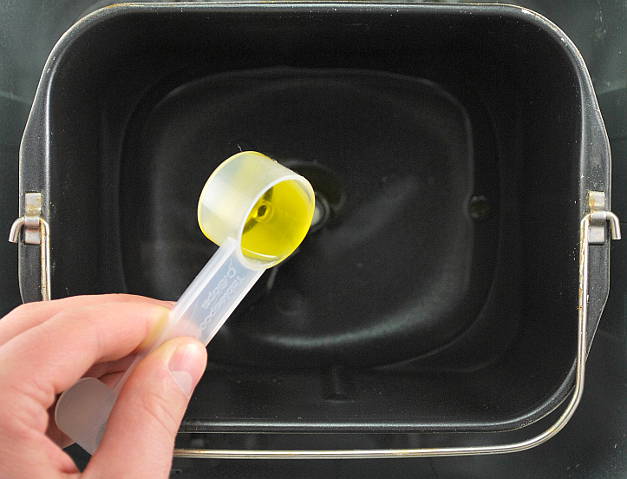
Olive Oil
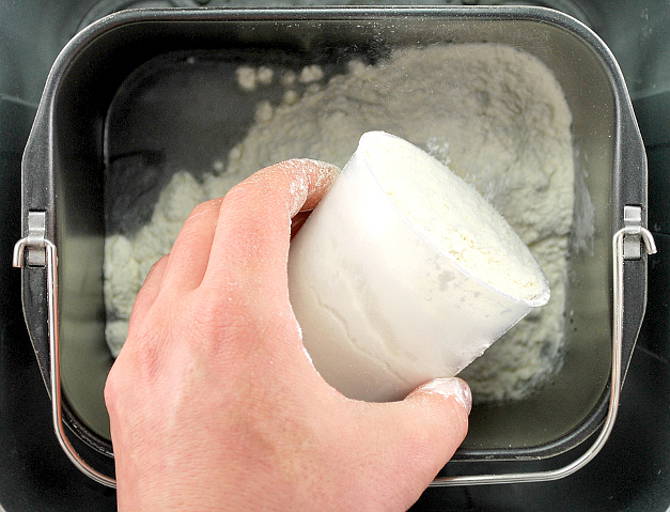
Flour
Yeast
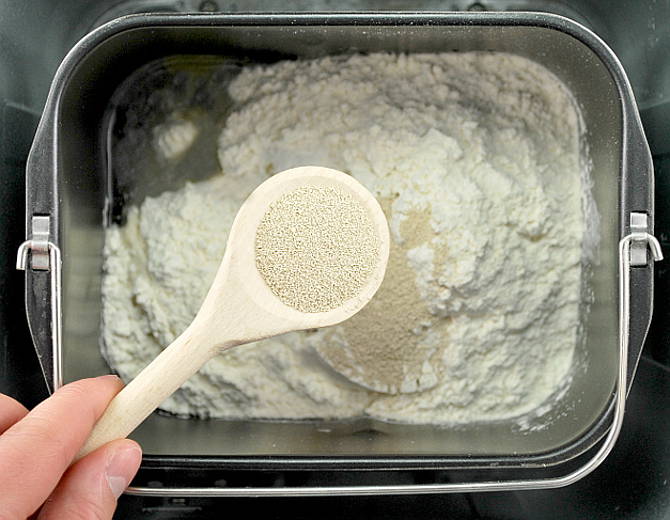
Salt
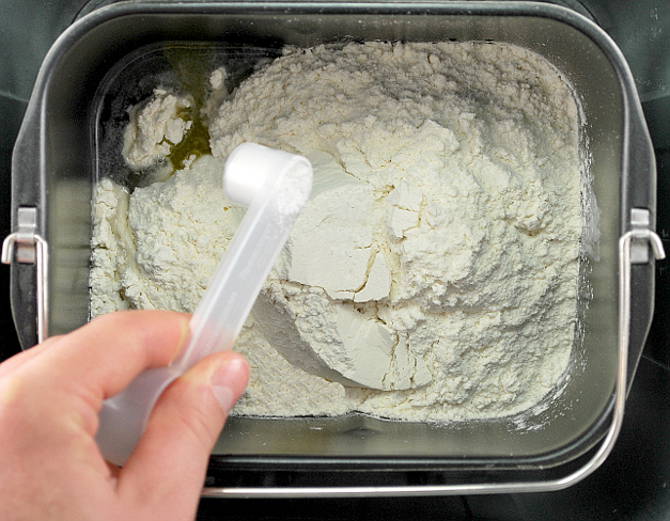
You can also add milk and sugar if you want but for the purpose of this post I will just stick to the basic bread recipe for now.
Frankly,
I’ve never tried switching the order of the ingredients.
I have to say that I’m not an adventurous person when it comes to my bread and dough.
If you follow these two simple rules, your bread/dough/jam etc., whatever you’re going to do, will be perfect on every occasion.
Step 3: Programming the machine
And in two simple steps on how to use a bread machine, you’ve reached the third one.
It’s the simplest one.
Not that the above two require more effort but, in comparison, this one is the quickest.
Now:
Once you plug in the bread maker, all you have to do is to select the number corresponding to the recipe and press Start.
Every bread maker starts with the basic setting.
Once you plug in the machine, the display is going to show the time needed for the white basic cycle to be completed.
The time differs from machine to machine.
For example, my bread maker needs 4 hours for making and baking a white bread. It’s also the most used cycle by me and my family. The second most frequently used is the dough cycle.
However, many machines only need 3 hours.
If the program is for bread you also have the option of choosing from the 3 crust settings: light, medium or dark.
When it comes to the loaf size, there are different types of machines.
There are some that only bake the 2-pound size, which is pretty much standard, the ones that have 3 sizes like my machine and even those that offer the possibility of choosing from 4 options (1 pound, 1.5 pounds, 2 pounds, and 2.5 pounds).
One more thing that I should say in this third step from how to use a bread machine is that you shouldn’t lift the lid while the machine is functioning, unless you need to add more ingredients that aren’t added in the beginning, like nuts/seeds/fruits or if you need to glaze.
Step 4: Removing the freshly baked bread
Twist the bread pan counterclockwise and just lift it up.
The bread will come off after you shake the pan a little.
And that’s it.
That’s all you have to do in this step on how to use a bread machine.
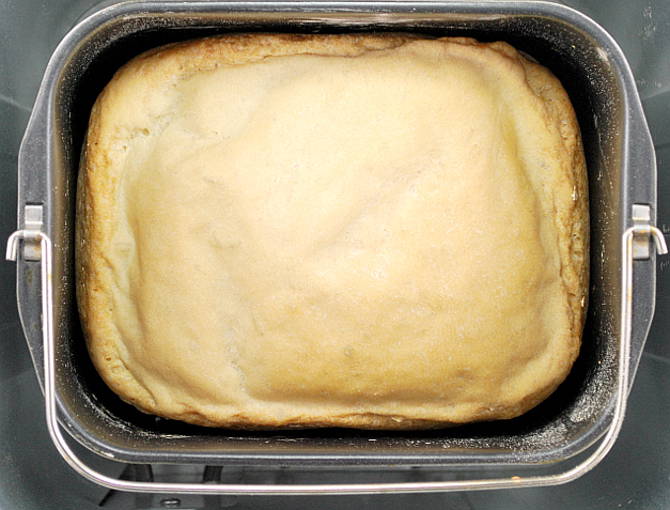
If the loaf doesn’t come off immediately as you shake it, let it rest for 5 minutes and then try again.
Normally, you shouldn’t encounter such problems.
The most important thing to remember about this forth step on how to use a bread machine is that the bread pan’s handles are really hot. You’ll need a towel or an oven glove.
Actually, you’d better have two oven mitts – one for the handle and the second for the bottom of the bread pan.
One exception to this rule is the Cuisinart CBK-100, which comes with stay-cool handles.
Even if the handle is not hot, the bottom is still hot, just like it happens with all the other bread makers.
Once the bread is removed, it should be placed on a wire rack until all the steam comes off.
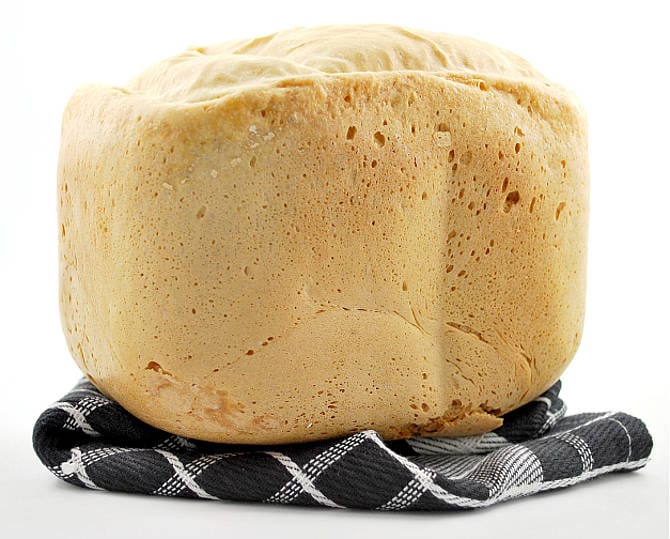
Another very important thing is that you mustn’t scratch the bread pan.
If you scratch it with anything, the bread is not going to come off as easily as before.
It’s nonstick so be careful with it and keep it that way.
It won’t be possible to use the bread maker immediately after the cycle has been completed and you’ve removed the loaf.
The pan must cool off before letting you to use it one more time.
For some bread makers that means waiting anything from 20 minutes to an hour. It depends from one machine to another,
Step 5: Enjoy your homemade bread + 3 tips for keeping it fresh
Before actually enjoying your homemade bread, I would like to offer you 3 additional tips.
They’re not related to the question how to use a bread machine, they’re sort of like a bonus.
You have this amazing fresh delicious loaf that is the quintessential taste of home but you’re not going to eat a 2-pound loaf all at once.
I want to offer you my intakes on keeping the loaf fresh and yummy.
The 3 extra-tips on how to use a bread machine are:
1. Don’t cut the bread immediately as you remove it from the pan.
Let it rest for about 30 minutes. It’s basically the same rule that applies to stakes, too. The let it rest part rounds up the process. If you’re hungry and you can’t wait, don’t be a martyr. Cut the loaf and enjoy it. It won’t make it taste worse, it will just look a little different.
2. Wrap the remaining loaf in a towel.
I do that and I can eat the same bread three days after it’s been baked. And it’s still good, which is really amazing considering that homemade bread has no preservatives to make it last longer. It doesn’t break my teeth, either. That’s what happens when you store it really well, nice and tight. Or use plastic bags even though you will use the crust.
3. If you want to keep it even fresher, you can put it in a bread box. I use the towel-bread box combo.
And with that, there you have it.
You’ve reached the end of this pretty long in-depth guide on how to use a bread machine, I hope it was as fun for you reading it as it was for me writing it.

