Using a bread machine to knead dough is, in my opinion, the easiest way to make the dough. When I am saying that, I’m referring to actually using the dough cycle from start to finish.
Once the final beeps are heard, signaling that it’s time to remove the dough, all that is left for you to do is to place it in the desired bakeware and pop it in the preheated oven. And that’s in essence all there is to be known about using bread machines to knead dough.
The alternatives to a bread maker for dough making are mainly represented by a stand mixer or by its smaller relative, the hand mixer.
Contents
My Favorite Bread Machines to Knead Dough
1. Overall best: Zojirushi Virtuoso Plus BB-PDC20
The Zojirushi Virtuoso is one of the best bread makers at the moment. It’s also one of the most expensive. But it has everything we could want in a bread machine. It has dual kneading blades so it’s a fantastic dough maker. Plus, it bakes horizontal breads, similar in shapes to the sandwich breads we buy from store.
2. Affordable: Cuisinart CBK-100
In contrast, the Cuisinart CBK 100 is pretty affordable. That doesn’t make it less fantastic. It’s amazing for kneading dough in a bread machine. It has 2 dough settings: dough and pasta dough. We can use the dough cycle to make bread dough, pizza dough, bagel dough, etc. It will also bake all kinds of breads, it even has a gluten-free cycle. All in all, it’s quite affordable but it offers everything we might need from a bread machine.
The Easiest Way to Use a Bread Maker to Knead Dough
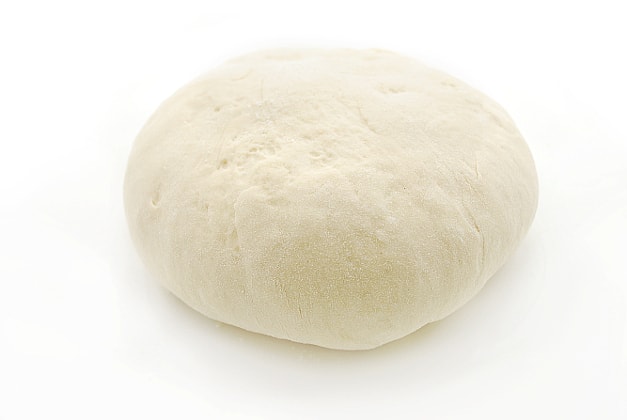
Before going into the actual steps, I just want to tell you that you can use the 4 basic ingredients for a basic white dough cycle: yeast, flour, salt, and water.
Even if the recipe includes the quantities for sugar and oil, you can skip on those. I do add the oil and sugar when I’m making a pizza dough in my machine but not when I’m making one for bread.
The principles are the same for all bread machines, regardless of manufacturer:
- read the user manual carefully
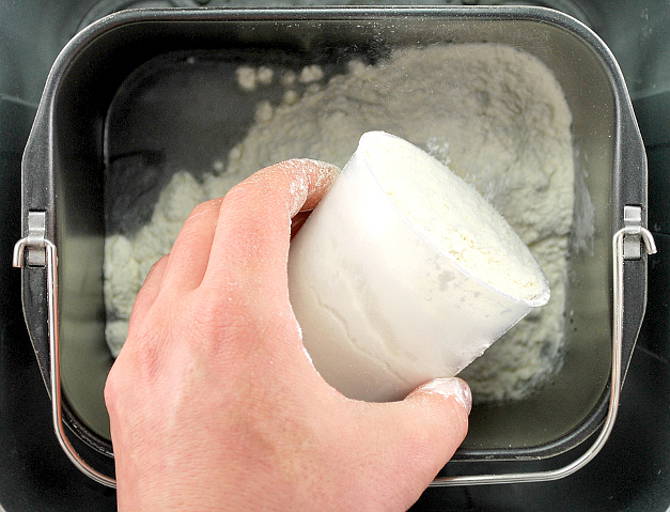
- measure the ingredients precisely – that’s very important, one of the best tips for using bread machine to knead dough
- you will be given a cup for the liquids
- and a measuring spoon/scoop with 2 ends (one is the teaspoon and the bigger is the tablespoon) for the yeast, salt, sugar, oil
- I prefer to use a kitchen scale for the flour, it’s the most accurate measuring option
- add the ingredients in the exact order specified by the user manual – the yeast doesn’t come in contact with the liquids and each model has a preferred order
- for example, the order for mine is yeast, flour, salt, and water but others might have liquids, dry ingredients, and finally yeast – you need to pay attention to this aspect if you want everything to go perfectly
- select the cycle indicated in the manual/written on the machine
- and press START
The 2 Options When You’re Using Bread Machine to Knead Dough
What do I mean by the fact that you have two options?
When you’re using a bread machine to knead dough, you can:
- remove the dough as soon as it’s kneaded – you can easily tell when that happens because after intense noises, the machine goes all silent
- let the dough rise inside the machine – then you can directly pop it in the oven
If you’re removing it as soon as the kneading is complete, you’ll have to see it through the fermentation and proofing phases. As long as you’re used to that, everything will be great.
It’s a nice option if you prefer using a proofing basket or if you want to proof in the loaf pan.
What Type of Dough Can You Make?
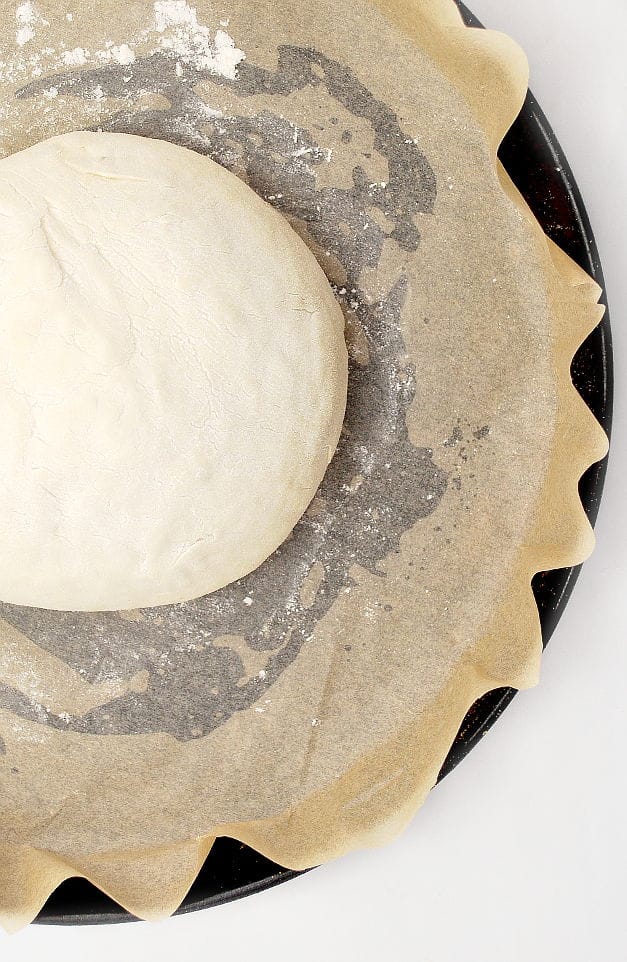
That depends on what bread machine you have. The usual dough cycles are bread dough (white) and pizza dough.
Some models can also have a pasta dough cycle. I’m pretty sure there are some with a bagel dough cycle.
However, you’ll notice that we have cycles for all kinds of breads: white, whole wheat, sandwich bread, French, Italian, and gluten free bread in some cases.
Not absolutely all models have the gluten free cycle but there are many who do, including more affordable models like the Hamilton Beach 29882.
Well, you can make dough for all these kinds of breads by simply letting the cycle run until it’s done kneading.
If you remove it just as kneading is complete, you’ll have to let it rise (fermentation and proofing) on the counter or in the fridge.
Or you can let the dough rise inside the bread maker and remove it just before it enters the baking phase. Then, you just have to simply bake it.
These two are excellent options for those who prefer oven baking but want more alternatives than what the classic dough cycles offer.
How Long Does a Bread Machine Knead the Dough for?
It actually depends on what model of bread maker you’re using but I’ll try to speak in general terms. The timings are not precise, which is why you need to read the user manual.
The actual kneading takes only about 20-40 minutes, the rest of the time covers the rest and rise periods. If we were to make an average, we would say that the kneading is done for 30 minutes.
In general, a dough cycle can be completed in anywhere between 1:30 and 2:30 hours.
For those models who have separate cycles for bread and pizza, the pizza dough will always be the faster one. For example, my bread maker makes the bread dough in 2:20 hours but I can make the one for pizza in less than an hour.
Well, I have to let the pizza dough rise on the counter or in the pan in the bread machine. It usually takes another half an hour until I can stretch the dough for the sauce and toppings.
Other models will make the pizza dough in 1:30 hours or maybe a bit more.
On the other hand, the artisan cycle (not a lot of models have it) will make the dough in 5 hours because a long cool rise is used to better develop the flavor and texture. It imitates the techniques used by artisan bakers.
I think that this whole guide on using a bread machine to knead dough can be concentrated in these powerful words: do as the user manual says.

